Workshops

Monday, April 19, 2021

4th Grade - Laurel Burch inspired Printed Cat Portraits


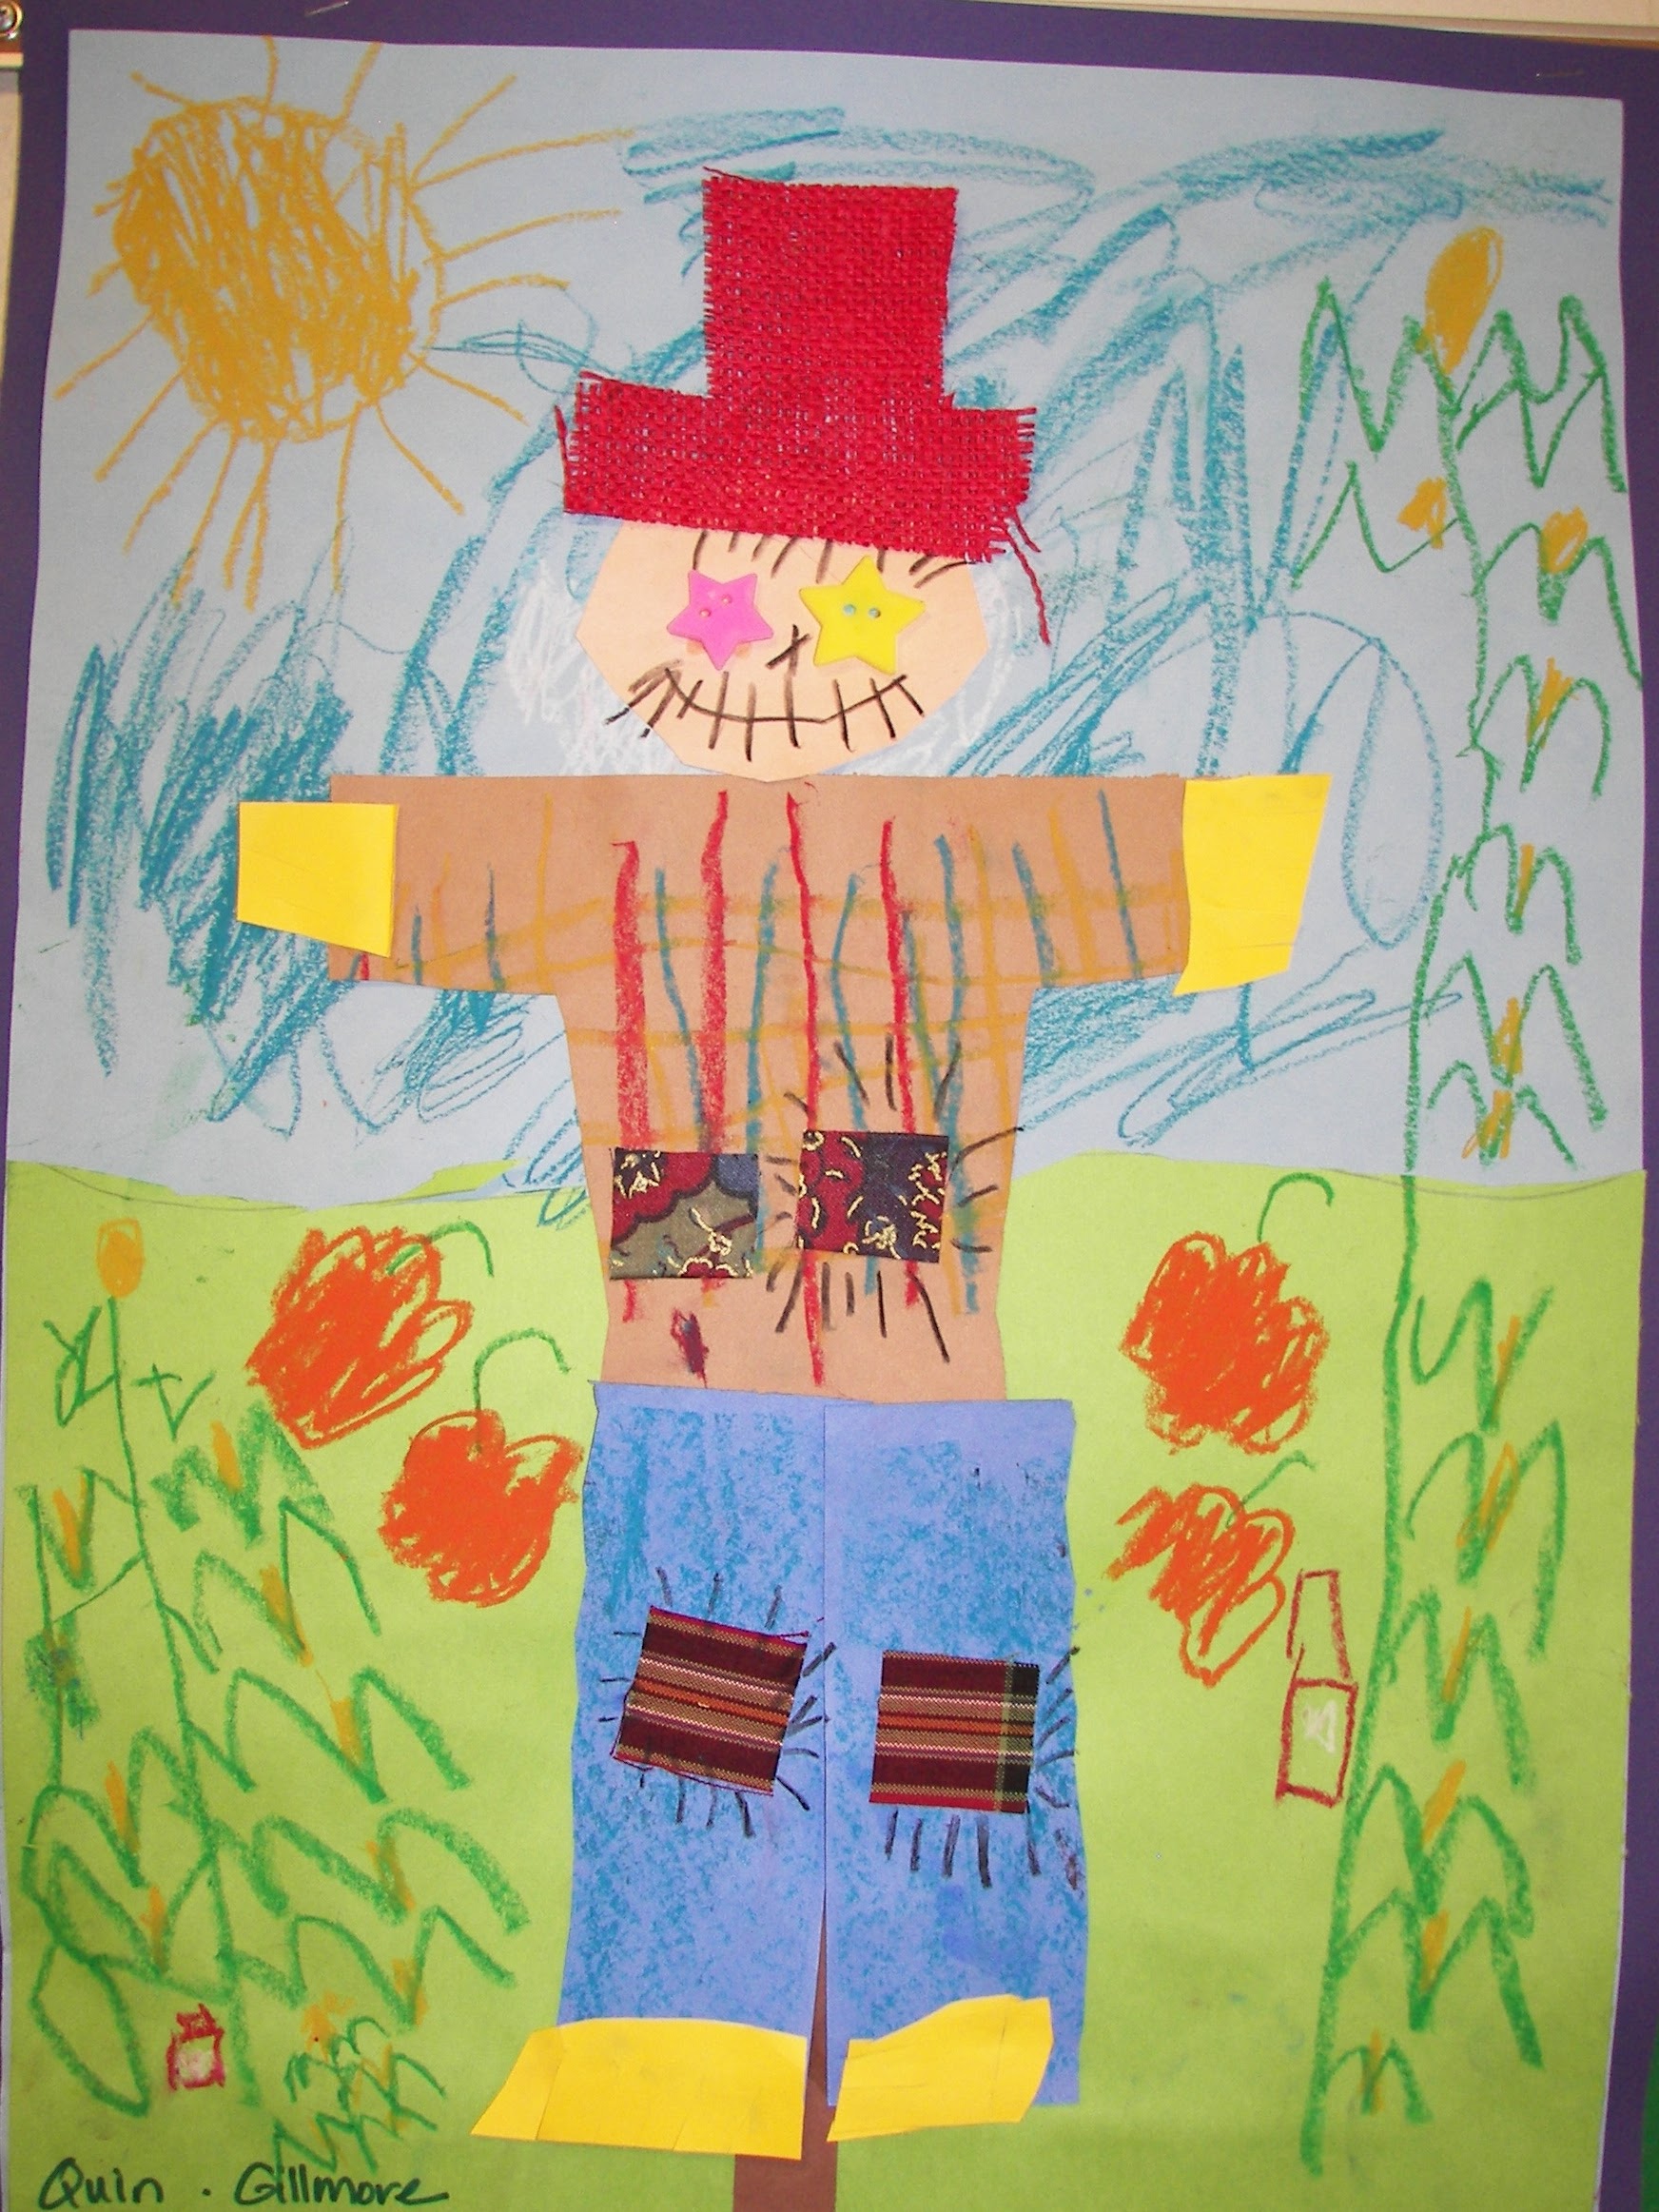
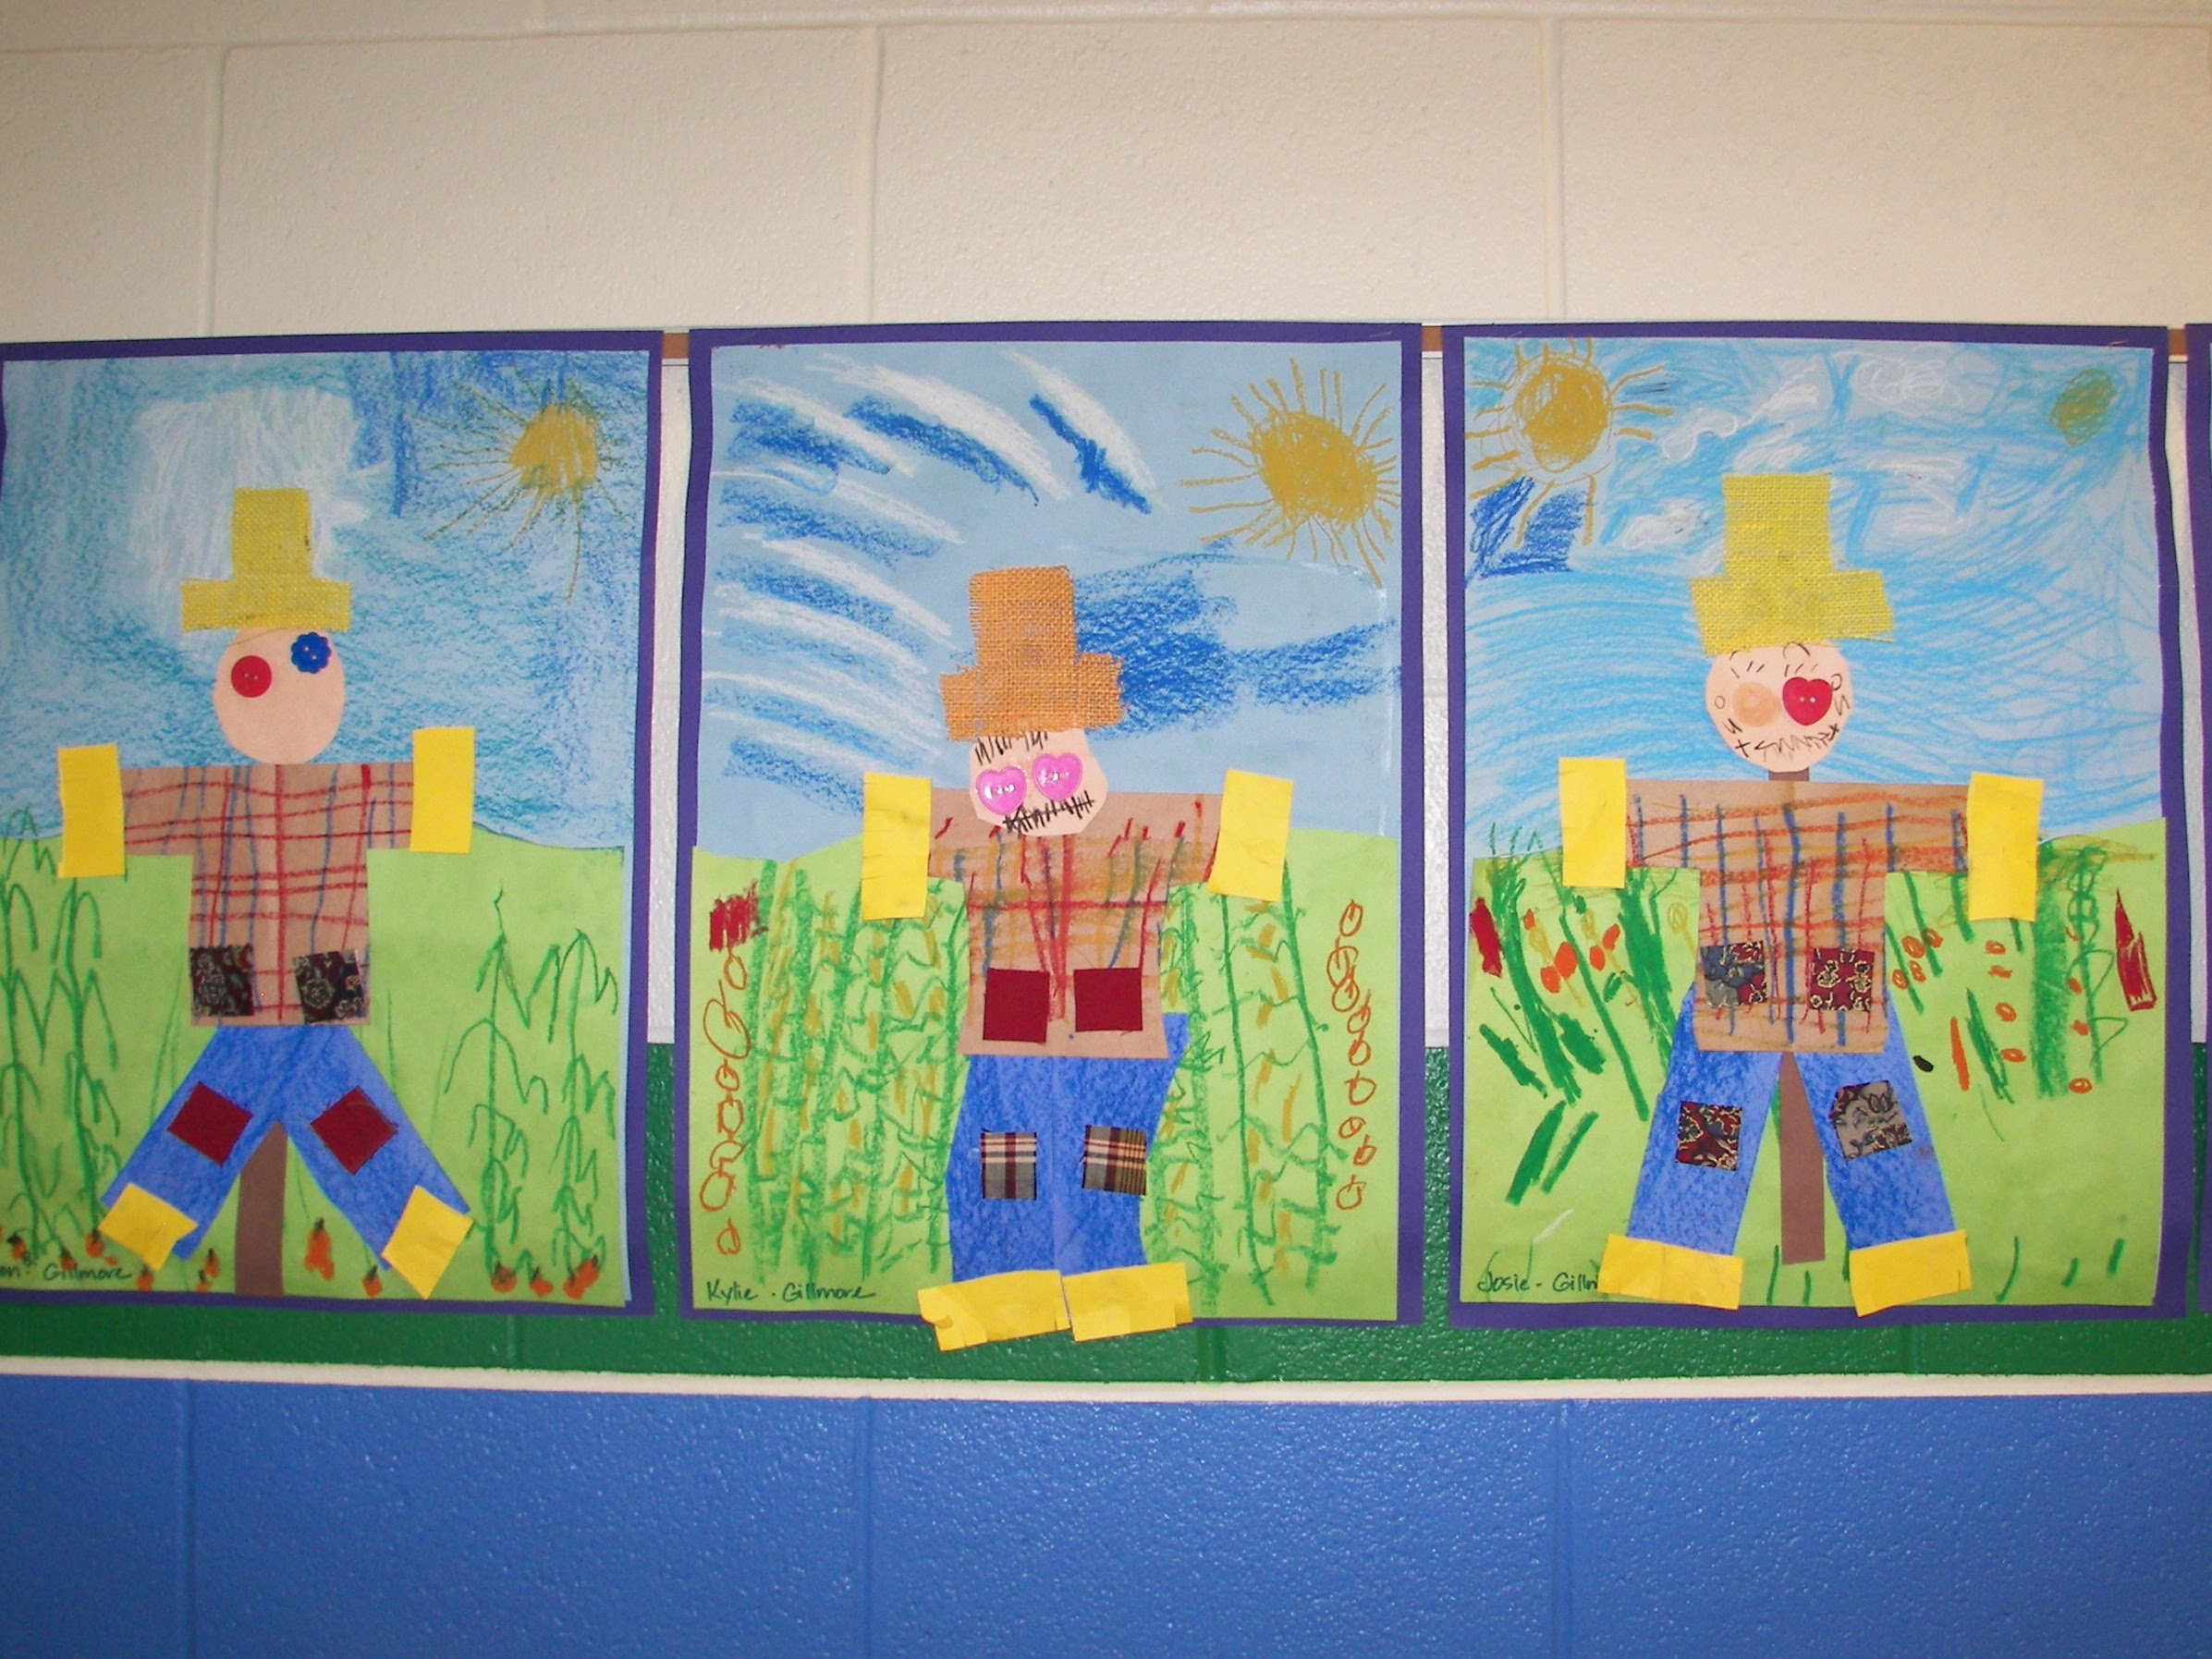
Laurel Burch Printed Cat Portraits!  A very simple printmaking project with a couple fun embellishments!  A great  LINE, COLOR, TEXTURE and DESIGN lesson. You can lean any way you decide!

Week 1 - We look at the art of Laurel Burch, mostly her cats. We discuss their BIG human like eyes and beautiful patterns. Students drew their own cat portrait on a 6x9 piece of white paper. Then tape it and lightly trace it to a piece of printing styrofoam the same size. I like to use ball point pens to press the foam down further, to get it ready for printing. 

Week 2 - Students select 4 pieces of 6x9 pieces of construction paper in various colors. Then with old oil pastels, we color on the side a bit, making the paper multicolored. Once done, we printed our styrofoam with black printing ink. 

Week 3 - Students selected the best 2 of 4 prints to frame side by side on white 7x10, then down to a 12x18. We used colored metallic papers for eye balls, with black oil pastel lines if they liked. Then paper crimpers to make colorful whiskers. The final steps made them look more finished! A very satisfying product in the end!


Kindergarten - Scarecrows!


SCARECROWS! I love Scarecrows in the Fall! Especially when they are made by Kindergarteners! I LOVE the book Scarecrow by Cynthia Rylant. It is beautifully written and beautifully illustrated by Lauren Stringer. We talk about the TEXTURE Fall can bring, that we will be making scarecrow pictures with real and implied textures.

Week 1 - I share the book first with my class, and then we prep papers for our plaid and rough denim jeans. A 6x4 brown construction paper with crayon plaid and then coloring with the side of a blue crayon on a blue 3x4 piece of construction paper. We save these for the next week.

Week 2 - I give the students a 11x17 piece of light blue paper and a 11x9 piece of light green paper. Students are asked to barely cut a strip off one wide end of the paper, to make it slightly bumpy. Then we glue this down on the bottom half of the paper. Student use crayons to draw a sun and clouds, then corn stalks on the right and left side of the paper, I remind them, the scarecrow will be in the middle, so don't draw corn there. If they want to make the sky more blue, they can use crayon to color the sky. I give them a 1/2"x 6" strip to glue down to the center of the paper for the stick our scarecrow will be set on.

I draw on the back of their brown plaid papers a rectangle on each side to cut off so that it looks like a shirt. Then a line on the back of the blue paper to cut it in half to have 2 pieced. We glue the shirt down first, then the two legs. 

Week 3 - Faces - I give a 3" square with a circle drawn on it, have them cut it out and glue down. I also have them fringe some yellow strips of paper for hay coming out of the cuffs. They glue these on as well. Then some fun finishing touches... button eyes, I have pre-cut fabric squares for knee patches and burlap for straw hats. Then a black crayon smile that looks stitched on. Any any other stitches they want to add! If they want to add a red barn on the horizon line, they can do that too.  :)

There are lots of ways to make this project, I have come to like this version a lot. These look adorable all hanging together in the hallway. :)


Saturday, March 28, 2020

It's a Small World Mural - Time-Lapse Video - 3rd, 4th, & 5th


Mary Blair and Joey Chou are the inspiration behind these murals. I loved Mary Blair's original work for Disney. All of her amazing illustrations remind me of my childhood. Joey Chou was hired to modernize her It's a Small World illustrations. He did an amazing job and is now a big source of inspiration of mine.

I pre-drew several versions of the city on paper before I grabbed my chalk and drew on the black paper. But when I start, I like it to flow, I do not stick to the drawing. It is more a guideline and source of ideas. 

Once the whole drawing is complete, I go mix my paint. MIX PAINT BEFORE NUMBERING! You need to know how many numbers you need. I like to mix a lot of intermediate colors, trying to stretch the color wheel. 


Once colors are mixed,  I number and create a chart for myself. Additionally, I set up a paint cart and get it labeled and numbered. 

Once the paint is mixed, I number the painting! usually 20-26 colors... depending on the subject. 


When students start painting, they are instructed to OUTLINE each shape before painting it in. They get one color, I hand them the cup. They look for their number only. For the most part, they all do it perfectly. I do not worry if there is a spot painted with the wrong number.


Once we got most the mural painted in, I added the black and white ribbon in the background and the tile look at the bottom. It needed a break in color. Then to fill in the back ground, we printed with large sponges on sticks, gold tempera paint. It finished it off!